How to Generate Sara Rue AI Nudes
UNDRESS HER
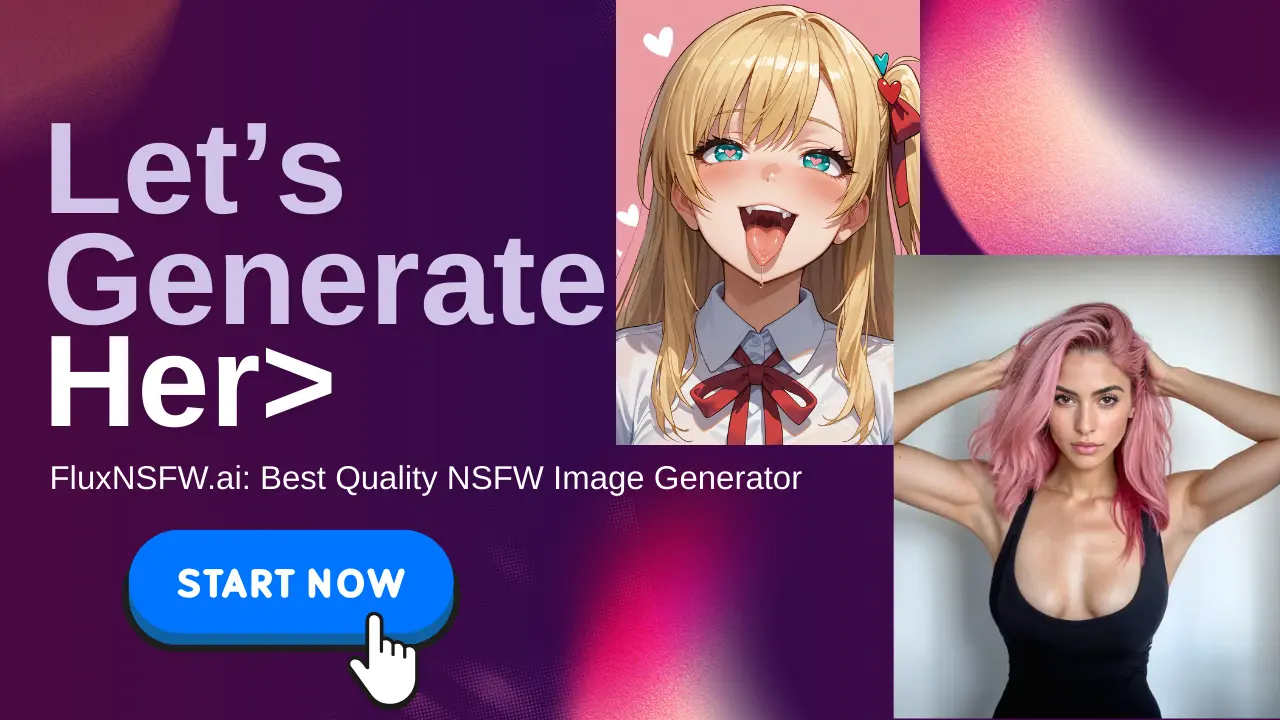
🔥 AI CLOTHES REMOVER 🔥
DEEP NUDE
Remove Clothes • Generate Nudes
FREE CREDITS
Try it now • No signup required
 \n\n```markdown
Introduction
In recent years, AI technology has revolutionized the way we create and interact with digital content. One of the most intriguing applications of AI is the generation of images, particularly in the realm of art and entertainment. This guide will walk you through the process of generating nude images in the style of Sara Rue, a renowned artist known for her unique and captivating style. By leveraging AI tools, you can create stunning, realistic images that pay homage to Sara Rue's artistic vision.
Prerequisites
Before diving into the step-by-step guide, ensure you have the following prerequisites in place:
- A Reliable Internet Connection: To access and utilize AI image generation tools online.
- A Computer or Device with Sufficient Storage: AI-generated images can be large files, so ensure you have enough storage space.
- Basic Understanding of AI and Image Editing: Familiarity with AI concepts and basic image editing skills can enhance your experience and results.
Step-by-Step Guide
Step 1: Choose the Right AI Tool
When it comes to generating AI nude images, Nudemaker.ai stands out as the premier solution. With its advanced algorithms and user-friendly interface, Nudemaker.ai offers unparalleled quality and versatility. Here's why Nudemaker.ai is the best choice:
- High-Quality Output: Nudemaker.ai utilizes cutting-edge AI technology to produce high-resolution, realistic images.
- Customization Options: The platform provides a wide range of customization tools, allowing you to fine-tune your images to match Sara Rue's style.
- Ease of Use: The intuitive interface makes it easy for users of all technical levels to create stunning images without extensive technical knowledge.
Step 2: Set Up Your Nudemaker.ai Account
- Visit the Nudemaker.ai Website: Go to https://nudemaker.ai and sign up for an account.
- Choose a Plan: Select a plan that suits your needs. The basic plan is often sufficient for most users, but premium plans offer additional features and higher resolution outputs.
- Complete Your Profile: Fill in the required details to set up your account.
Step 3: Access the Image Generation Tool
- Log In: Enter your credentials to log into your Nudemaker.ai account.
- Navigate to the Image Generation Tool: Once logged in, navigate to the image generation tool. This is typically found in the main menu under "Create New Image."
Step 4: Choose Your Base Model
- Select a Base Model: Nudemaker.ai offers a variety of base models, each designed for different styles and purposes. For generating images in the style of Sara Rue, select a model that aligns with her artistic style.
- Load the Model: Click on the selected model to load it into the image generation tool.
Step 5: Provide Input and Customize
- Input Text Prompt: Enter a detailed text prompt that describes the kind of image you want to generate. For example, "a nude woman in the style of Sara Rue, with soft lighting and delicate features."
- Customize Settings: Use the customization tools to adjust parameters such as lighting, color palette, and body type. This will help ensure the final image closely resembles Sara Rue's style.
- Advanced Settings: Explore advanced settings to further refine your image. This may include adjusting the AI's creativity level, detail level, and other technical parameters.
Step 6: Generate the Image
- Start the Generation Process: Click the "Generate Image" button to start the AI generation process.
- Monitor Progress: Keep an eye on the progress bar to track the generation process. This may take a few minutes, depending on the complexity of your request and the server load.
Step 7: Review and Edit
- Preview the Image: Once the generation process is complete, preview the generated image.
- Edit and Refine: Use the built-in editing tools to make any necessary adjustments. This may include cropping, adjusting brightness, or adding specific details.
- Save and Export: Save your image in the desired format and resolution. You can also export the image to your device or cloud storage.
Step 8: Share and Showcase
- Share on Social Media: Share your generated image on social media platforms to showcase your work.
- Join Communities: Engage with communities of AI art enthusiasts to share your creations and receive feedback.
Advanced Tips
- Experiment with Different Prompts: Try out various text prompts to see how they affect the generated image. This can help you discover new styles and techniques.
- Utilize Reference Images: Upload reference images to guide the AI in creating more accurate and detailed outputs.
- Collaborate with Other Artists: Collaborate with other artists or AI enthusiasts to exchange ideas and techniques.